Pod. We’ll set up a server to generate images with Flux1 Schnell, but you can easily adapt it to use other models like Stable Diffusion v1.5.
View the Code
See the code for this example on Github.
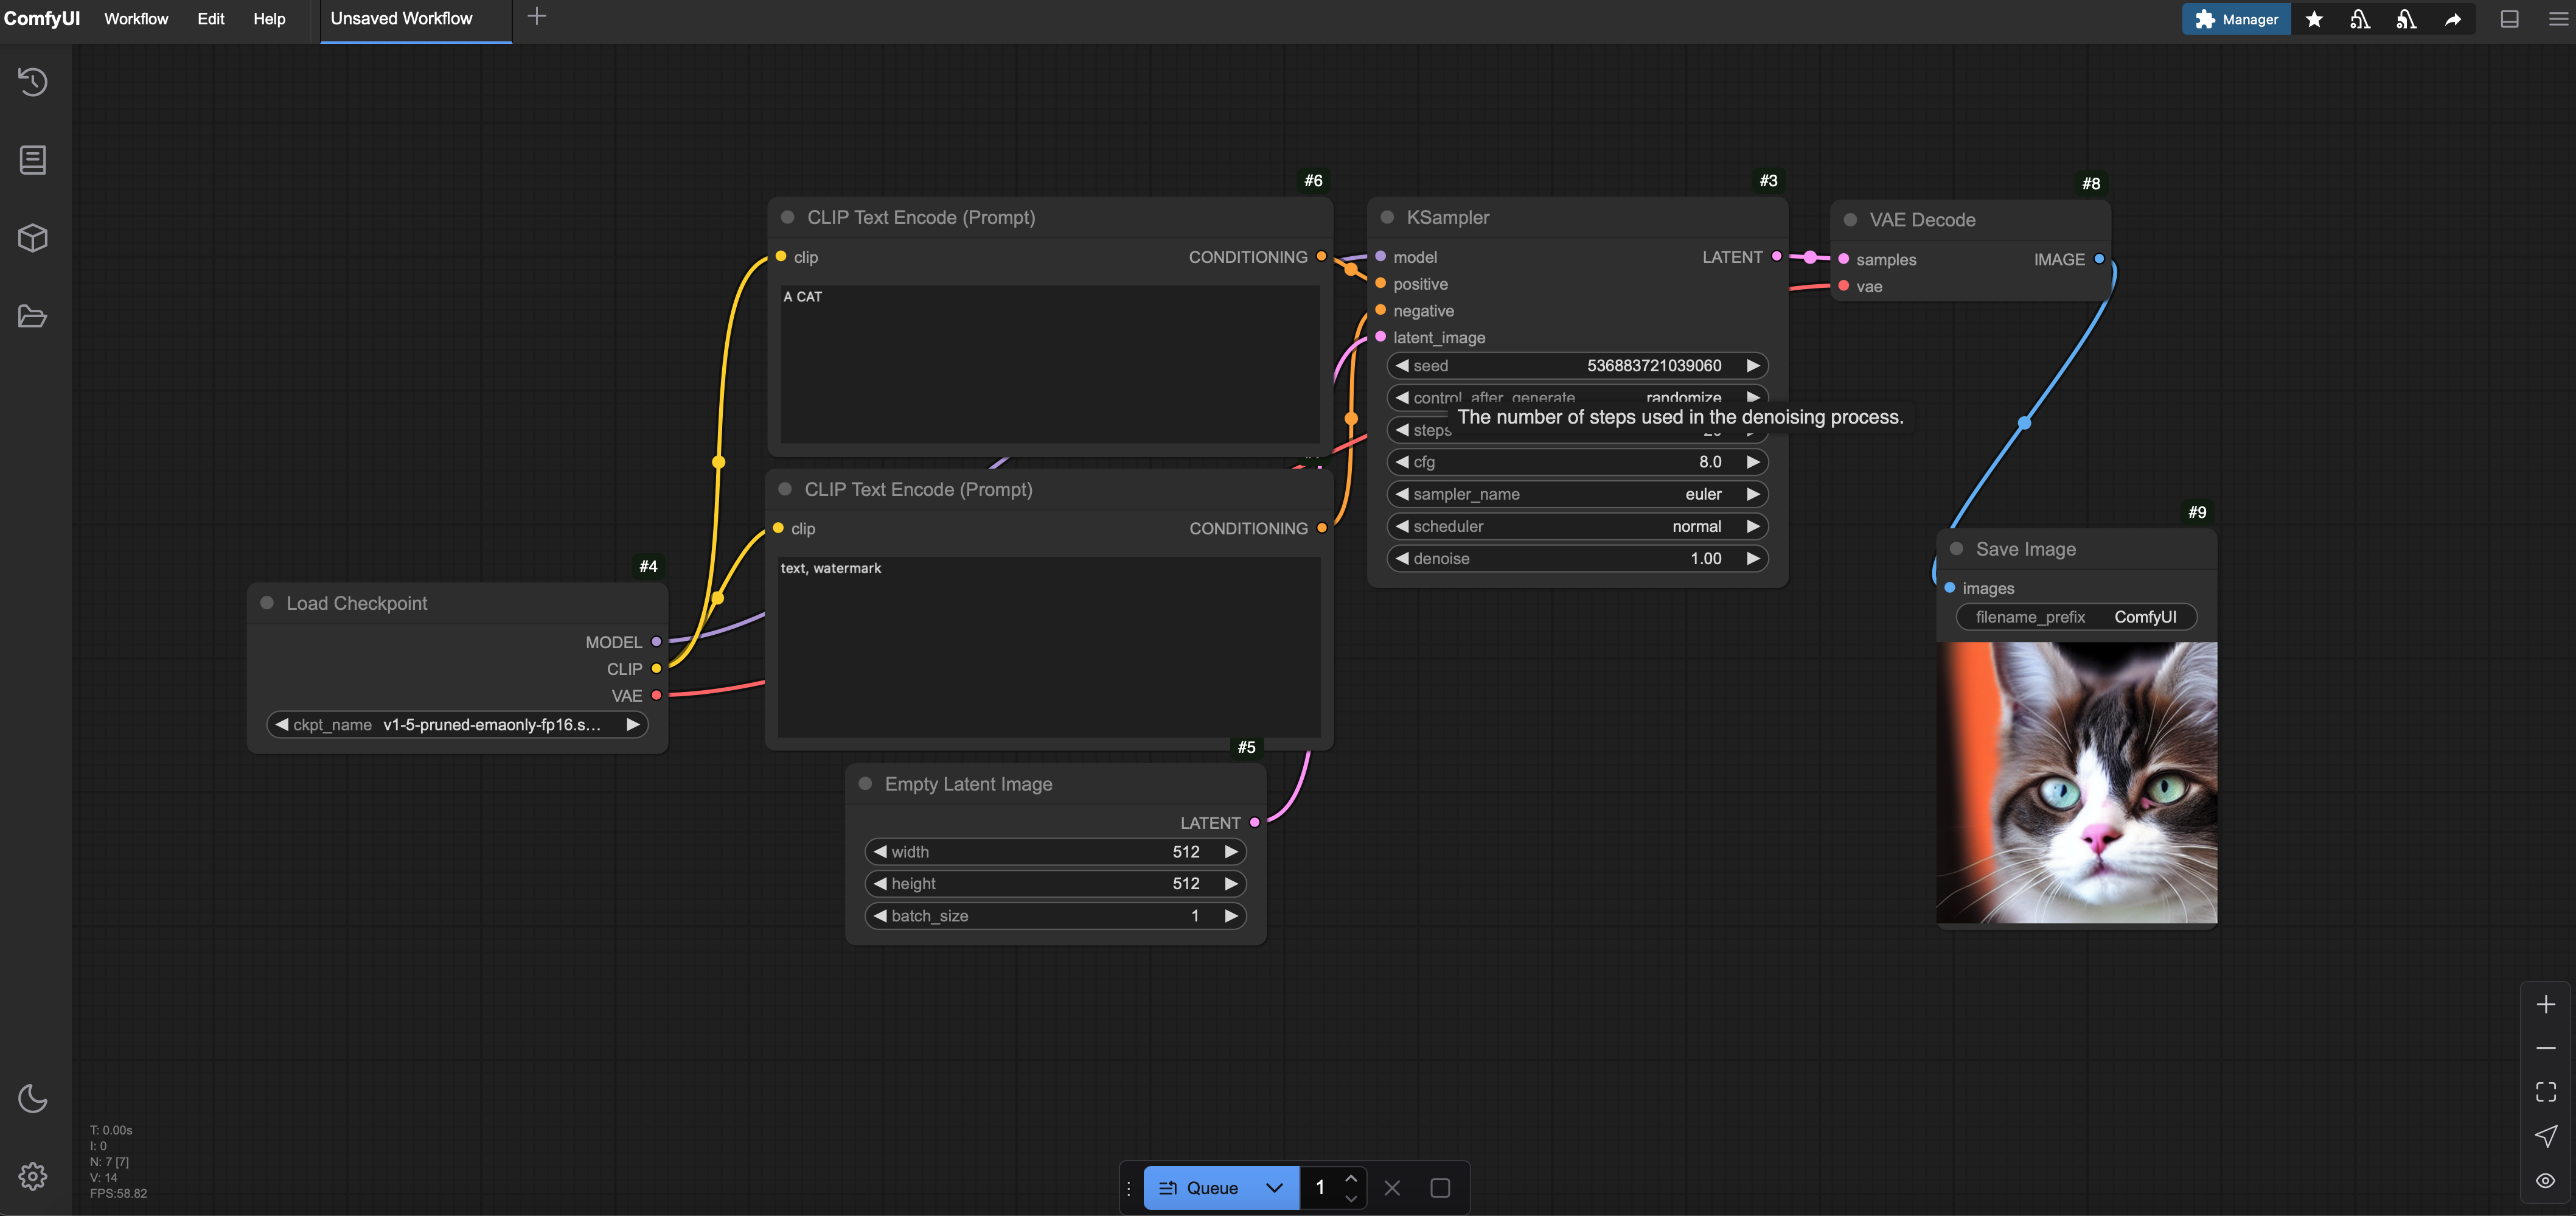
Setting Up the ComfyUI Server
-
Create the Deployment Script
Create a file named
app.pywith the following code. This script sets up a BeamPodwith ComfyUI, installs dependencies, downloads the Flux1 Schnell model, and launches the server.hf downloadsaves the weights straight into ComfyUI’scheckpointsfolder, and--revisionpins them to the commit inCOMMIT. If your workflows need custom nodes, addcomfy node install <node-name>to the same list, aftercomfy install. -
Start ComfyUI
This builds the image, starts the ComfyUI server on Beam, and prints its URL, which ends in
-8000.app.beam.cloud. -
Accessing the Server
- Open the URL from your terminal in a browser to access the ComfyUI interface.
- Use the web UI to load workflows or generate images. The first prompt takes a few minutes while ComfyUI loads the model into GPU memory. After that, Flux1 Schnell generates an image in about 2 seconds on an RTX 4090.
- An idle Pod shuts down after 10 minutes. Set
keep_warm_secondson thePodto change this, or stop it sooner as described in Terminating a Pod.
Using Different Models
You can swap the Flux1 Schnell model for another, such as Stable Diffusion v1.5, by updating the model variables inapp.py. Here’s how:
-
Update the Model Variables
Define the organization, repository, weights file, and commit ID for your desired model. For example, to use Stable Diffusion v1.5:
-
Apply to the Image Commands
The rest of the script uses these variables, so no further changes are needed to the
imagesection: -
Find Model Details
To use any other model:
- Visit Comfy-Org Hugging Face and find your desired model.
- Update
ORG_NAME,REPO_NAME,WEIGHTS_FILE, andCOMMITwith values from the model’s repository. Check the “Files and versions” tab for the weights file and commit hash.
Running Workflows as APIs
You can also expose ComfyUI workflows as APIs using Beam’s ASGI support. This allows you to programmatically generate images by sending requests with prompts. Below is an example of how to set this up:-
Create the API Script
Create a file named
api.py: -
Prepare a Workflow File
- Create a
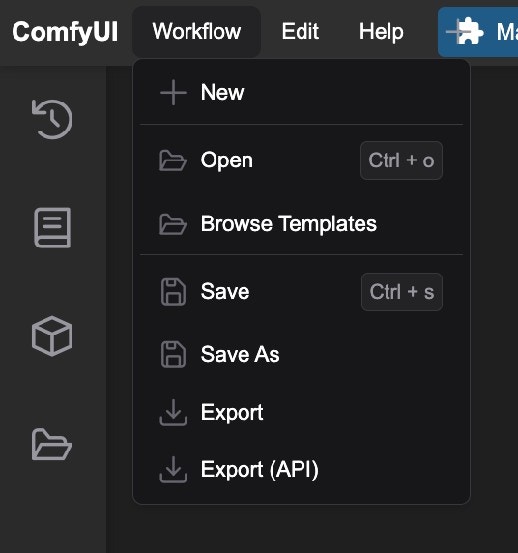
workflow_api.jsonfile in the same directory asapi.py. This file should contain your ComfyUI workflow in API format, which you can export from the ComfyUI web interface. - The handler sets the prompt on node
"6"and the output filename prefix on node"9". If those node IDs are different in your exported file, update them in the handler.
- You can also store your
workflow_api.jsonfile in your Volume and use it likeWORKFLOW_FILE = Path("/your_volume/workflow_api.json")
- Create a
-
Deploy the API
The image is the same as the one in the Pod example, so if you ran that first, the deploy reuses the cached image. Otherwise, the first deploy takes about 10 minutes to build it.
-
Use the API
Send a POST request to the
/generateendpoint with a JSON payload containing aprompt. Use the URL thatbeam deployprinted:The first request after the app scales up from zero takes about 90 seconds while ComfyUI starts and loads the model. After that, each request takes a few seconds. The response will include a public URL to the generated image: